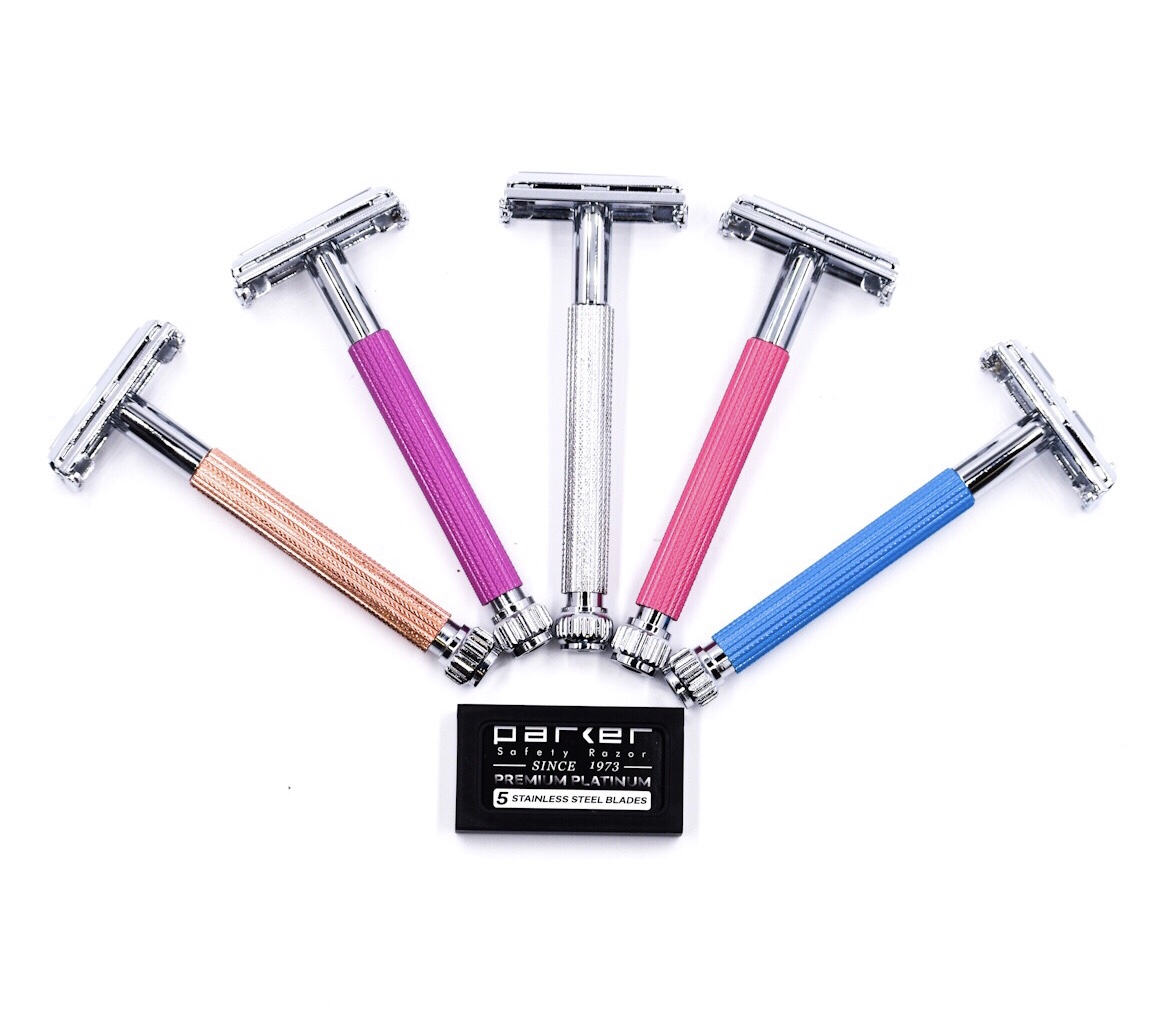
 Since many women are prone to ingrown hairs, bumps and skin irritation, using the right razor, along with being mindful, can transform your shaving experience into a luxurious routine. Once you get your technique down, your skin should feel smooth and irritation free. All of our razors are unisex, but feel free to check out our For Her section for specific products geared more toward women's preferences.
We invite women to experience the benefits of our safety razors -- durable, beautiful, plastic-free and zero waste. Shaving shouldn't be a chore. It should be a luxurious ritual. Join the growing movement!
STEP 1: PREPARE YOUR SKIN FOR SHAVING
The best time to shave is after you’ve washed or exfoliated your skin, preferably in your shower. Steam softens hair, making it easier to shave. Save your shave for the end of your shower so the outer layer of your skin has had more time to soften up.
STEP 2: APPLICATION OF SHAVE CREAM OR SOAP
Using a high quality pre-shave oil and shave cream or soap will lubricate and protect your skin from the blade, lessening irritation. Use a good shave brush to lift the hairs and more evenly disperse the lather. A shave brush acts as a natural exfoliant as an added benefit.
STEP 3: LET THE RAZOR DO THE WORK -- USE SHORT LIGHT STROKES & A FRESH BLADE
Using a fresh blade, start shaving the sides of your legs first, going in the direction of your hair growth. Hold your safety razor firmly and use short strokes. Don’t add pressure or push the blade into your skin (tread lightly with slow, short mindful strokes). A solidly made safety razor will have sufficient weight and should glide across your skin. For the closest shave, an ideal angle to hold the blade to your skin is 30 degrees. When you’re first starting out, you may want to angle the razor even less.
Keep in mind that once you feel some tugging, it may be time to change your blade. On average, most people get approximately 3-7 shaves out of each blade, so change them regularly.
STEP 4: ANKLES, SHINS & KNEES - TREAD LIGHTLY
When shaving around the ankles, shins and knees, tread lightly and try to flatten the area by straightening your leg and using light short strokes around the boniest areas. Be sure to prep the skin well and use a slick shave oil, soap or cream for the best razor glide.
STEP 5: UNDER ARMS & BIKINI AREA – SHAVE WITH THE GRAIN
Shave these tough spots last so the water’s steam & shave cream or soap has more time to soften your hair. You can add water & more soap to rehydrate before shaving these areas. Use your free hand to stretch your skin, creating a flat area for your blade to glide more easily and shave with the grain for less irritation.
STEP 6: RINSE WITH COLD WATER
Follow your shave with a splash of cold water and rinse your razor and brush well. Place them outside of the shower so they dry well.
STEP 7: APPLY SPLASH & MOISTURIZER
Finish by applying a generous amount of soothing moisturizer or splash. These products contain healing, toning and hydrating ingredients to keep skin looking and feeling its best after shaving. You may also want to consider using an all-natural alum block, which acts as an antiseptic, tightening your skin and treating any minor nicks.
